Deployment: Standard Deployment
Strategy: Squatter's Rights
Schemes: Assassinate, Cursed Object, Breakthrough and Plant Explosives
Gremlins:
Brewmaster with Binge, Running Tab and The Good Stuff
Apprentice Wesley
Fingers with Drinking Problem
Francois LaCroix with Team Work
Sammy LaCroix with Hold Their Hair Back and Stilts
Merris LaCroix
Moon Shinobi
Schemes: Breakthrough, Plant Explosives
Ten Thunders:
Misaki with Stalking Bisento and Recalled Training
Shang
Toshiro the Daimyo with Command the Graves
Samurai with Favour of Jigoku
Torokage
Torokage
Punk Zombie
Punk Zombie
Schemes: Assassinate, Plant Explosives
Deployment:

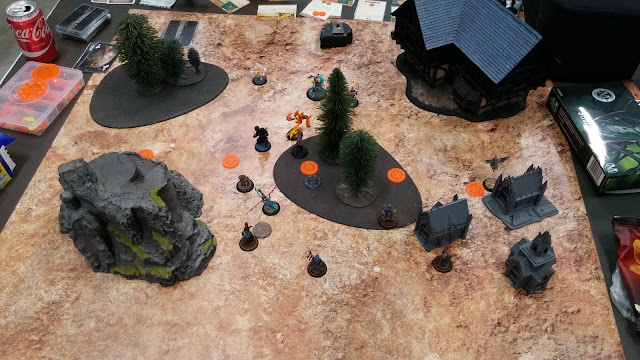
Misaki, Shang, a Torokage and the Samurai took the right side of the Ten Thunders deployment area, while the Daimyo and the rest deployed by the large tavern. The Brewmaster, Wesley, Merris and the Moon Shinobi took the right side, while the other LaCroix and Fingers took the left.

Turn 1 saw both sides advance towards the centre of the board, with Francois taking some pot shots at the Daimyo and doing some moderate damage while the Samurai shot and missed Sammy, who had just walked forwards and dropped a sneaky Scheme Marker.
Fingers went Reckless and moved up to one of the Squat Markers, then used Open Bar to push the Samurai towards the Brewmaster, hoping to get it out of position. One of the Punk Zombies, made Fast by Toshiro's War Fan, punished Fingers for his cockiness. Fingers hit his Squeel trigger, and bounced from one Squat Marker to the other - and then back again after taking a hit from a charging Misaki! Unfortunately for Fingers, Misaki hit a trigger that let her push 4" also, following Fingers and hitting him again. Just as I was regretting not using more Soulstones to prevent damage, Misaki flipped a Red Joker for damage, finishing off the slippery Fingers and ruining my plans somewhat, as Fingers' Chatty and Dont Mind Me... would have guaranteed a good amount of victory points.
Finally, Merris went Reckless and moved up to the right hand Squat Marker, ready to secure it next turn.

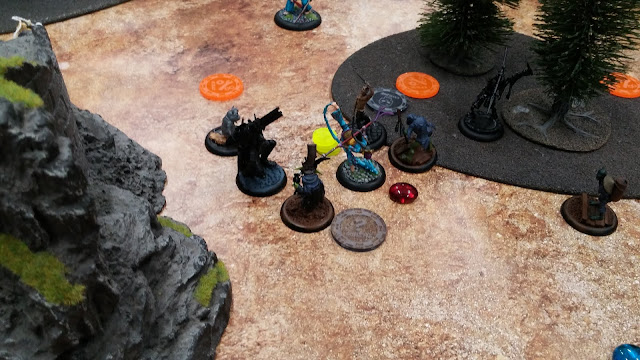
Brewmaster started off Turn 2 with his (0) Drinking Contest, then used Hangover to give Misaki negative flips on all flips and duels. He then charged Misaki, hitting her once to give her two +2 Poison.
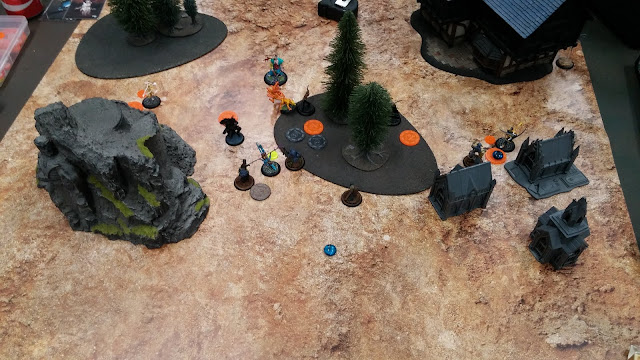
The Daimyo advanced, dropping a Scheme Marker then using it to give out Focus to those around him. Sammy then took the opportunity to Jynx Misaki so that she couldn't declare Triggers, trapping her by the Brewmaster, then advanced to be in melee. As a Companion chain activation, Francois went Reckless and used The Gremlin Menace to move into combat with the Punk Zombie and attack him, unfortunately only taking the Zombie down to one health, and taking a significant amount of damage in return. Francois became the second Gremlin Henchman to fall as the Samurai used his (2) Action to push into melee with him, finish him off, and push away again.
Merris also went Reckless, taking a Squat Marker and flying off to drop some Scheme Markers the next turn. The Torokage went for two Squat Markers, while the Moon Shinobi went for another, only to take a charge from the other, Unimpeded, Punk Zombie, only just surviving the first hit and drunkenly slinking away with his defensive trigger.
Misaki tried to do something, but ended up having a drink with Brewmaster instead - flipping negatives on her Wp tests to do anything else!
Finally, Wesley moved up, in case the Brewmaster needed him.

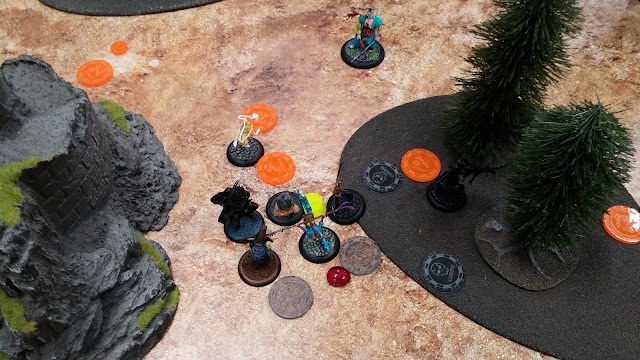
On what would become the last turn, the Brewmaster activated first for the Gremlins, using his (0) Drinking Contest again and giving Misaki some more Poison with a trigger to also give her Swill. He then Obeyed the Punk Zombie, moving him into combat with him, but close to Sammy's Scheme Marker for Plant Explosives.

The Samurai had a similar idea, dropping a Scheme Marker and moving into combat with Sammy. In an attempt to stop the Ten Thunders scoring VP, she used Putrefy on the enemy Scheme Marker with no high Crows in my hand - and flipped a thirteen of Crows, turning it into a Stuffed Piglet!

Merris went Reckless and dropped two Scheme Markers behind the tavern while the Torokage and Punk Zombie were busy killing the Moon Shinobi and taking one of the Squat Markers for the Ten Thunders.
Sadly for the Brewmaster, moving the Punk Zombie into combat with him had been a mistake, as it used (2) Flurry to take three Attack Actions, passing enough Wp tests to get the Brewmaster down to two wounds, with none reduced as I had been spending Soulstones like crazy throughout the game. Sensing weakness, Misaki discarded Recalled Training to power through the booze, hitting the Assassinate trigger and ending him as well as completing the Assassinate Scheme for 3 VP. Wesley automatically promoted himself to Brewmaster with There Must Always Be One, unwisely stepping into combat range of Misaki.. who then hit the Assassinate trigger on him also. Talk about déjà vu!

At the end of the Turn, the second Torokage stalked over and dropped a Scheme Marker, which then detonated alongside my own, both for Plant Explosive. At this point I called the game, unsurprisingly, as despite scoring 3 VP for Plant Explosives and a possible 2 VP for Breakthrough, the Gremlins had no chance of getting enough Strategy VPs to pull it back.
It was definitely fun to use Brewmaster again, with his ability to completely shut down enemy models. I underestimated Misaki, perhaps due to what Old Major did to her in our last game - she certainly lived up to her assassin reputation in this game!
Next time I should be using either Wong... or the underdog spoon-wielding Mah Tucket! We'll have to see what Schemes and Strategies are in store, and how fast I can get them both assembled.

No comments:
Post a Comment